
Below are the instructions for the April 2026 Grab & Go kits! Grab one only in the Youth Department at the Library. While supplies last.
Please note that there will be NO Grab & Go kits in May, as staff take time to prepare for Summer Reading.
Thank you for understanding!
PLEASE PAY ATTENTION TO THE GRADE RECOMMENDATIONS!
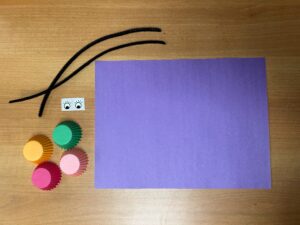
Cupcake Liner Caterpillar
Each kit includes:
- A piece of construction paper
- 4 cupcake liners
- 2 black pipe cleaners
- 1 set of eye stickers
You will need:
- Scissors
- Liquid glue
- Markers (optional)
Instructions:
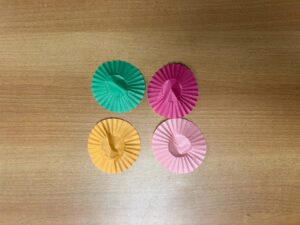
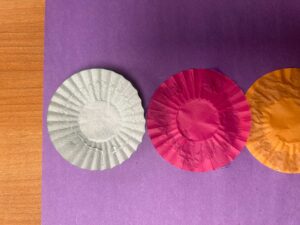
- Flatten each of your cupcake liners.
![IMG 0447]()
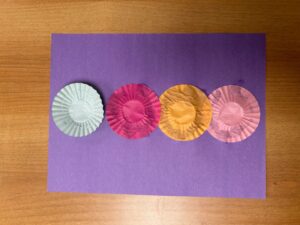
- Glue each liner down. It’s best to put a circle around the underside, to make sure they stay down all around.
![IMG 0448]()
![IMG 0449]()
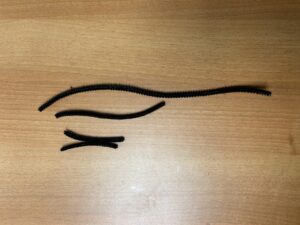
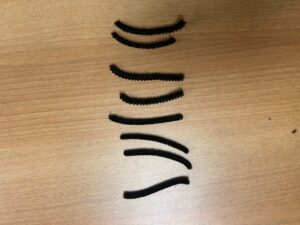
- Have a grownup help cut your pipe cleaners in half twice, so you will have 8 equal sized pieces.
![IMG 0450]()
![IMG 0451]()
- Glue 2 pipe cleaners to the top of the first cupcake liner; you can curve these ones at the top to make antenna. Then glue 6 of the pipe cleaners to the underside of the back 3 cupcake lines; these you can make into an L shape to make legs. Note: this is kind of tricky, so if you’d rather use a marker to draw on the antenna and feet, feel free!
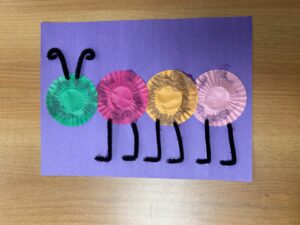
![IMG 0452]()
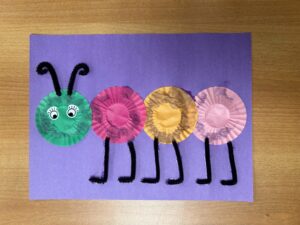
- Stick your sticker eyes onto the first cupcake liner. Say hello to your new caterpillar!
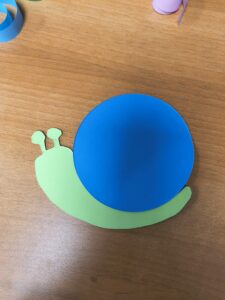
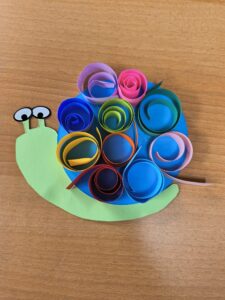
Paper Snail
Each kit includes:
- Strips of construction paper
- 1 circle piece
- 1 snail body piece
- 2 sticker eyes
You will need:
- A pencil
- Glue/Tape (liquid glue works best, but a glue stick works too!)
- Optional: A skewer or a chopstick
Steps:
- Glue or tape the circle piece to the snail body, overlapping the two pieces a little bit
![Step 1]()
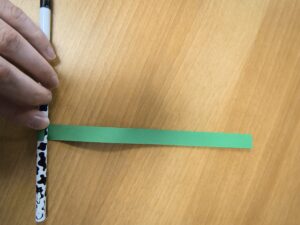
- Take a strip of paper and wrap it around your pencil
![Step 2]()
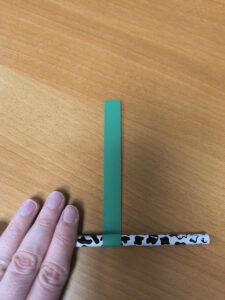
- Roll the pencil, so the paper wraps fully around
![Step 3]()
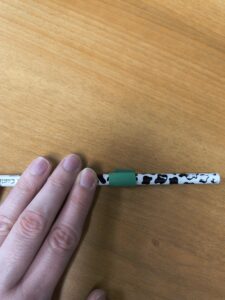
- Carefully pull the paper off the pencil – it will look like a swirl!
![Step 4]()
- Repeat steps 2 – 4 with the rest of your paper strips. To make tighter swirls use a skinnier object like a skewer or a chopstick. For the example, we made some looser and some tighter swirls
- Glue or tape your swirls upright onto your circle (so you can see the swirl patterns) – it helps to start at the middle and work outwards
Note: We gave you a couple of extra strips just in case, so they might not all fit! - Place your sticker eyes onto the snail body. Feel free to decorate your snail body more, if you would like!
![Step 7]()
- If you are using glue (even a glue stick) it is best to leave your snail flat on a table for at least 1 day so the glue can fully dry.
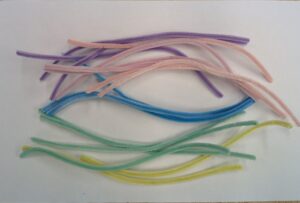
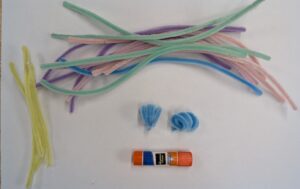
Pipe Cleaner Daisies
Supplies Included:
- 4 green pipe cleaners
- 2 yellow pipe cleaners
- 12 miscellaneous pastel pipe cleaners
You will need:
- Scissors or nail clippers
- Glue stick or marker (to wrap pipe cleaner around)
- Hot glue (optional)
Instructions:
- Cut each yellow pipe cleaner in half so you have 4 yellow pipe cleaner pieces

![cut yellow in four]()
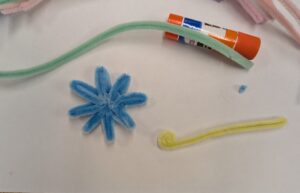
- Pull out 2 matching pastel pipe cleaners

![pull out 2 matching pastels]()
- Take one of them and wrap it around your glue stick or marker, leaving a tiny bit out at the start. (It should wrap around 4 times, leaving a little at the end)
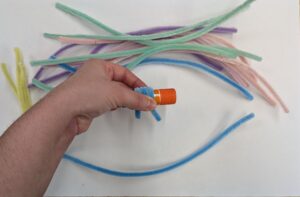
![loop around]()
- Twist the ends together to secure your loops before sliding it off the glue stick or marker
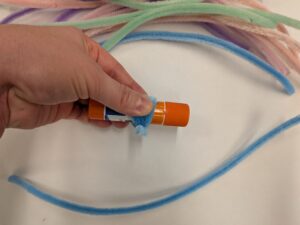
![twist ends together to secure]()
- Repeat steps 3 and 4 with the second pipe cleaner
![repeat]()
- Pull out a third pipe cleaner that matches the color of your loops and feed it through both of your loops
![pull out a third matching pastel]()
- Twist pipe cleaner to secure the loops together
![twist pipe cleaner to secure]()
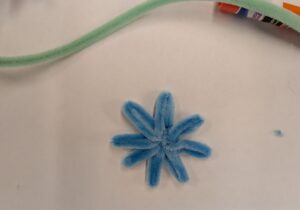
- Cut off the extra (leaving a little bit out) and then spread the loops out evenly
![cut off excess and spread loops]()
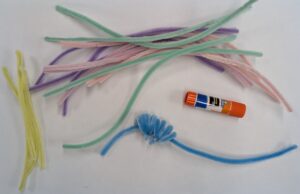
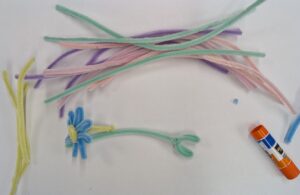
- Flatten loops and turn them 90 degrees to form the petals
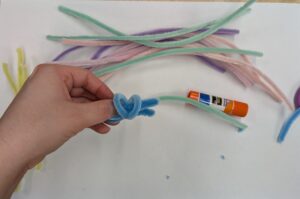
![flatten loops]()
![twist loops]()
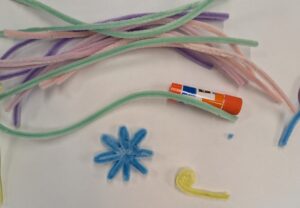
- Grab a piece of yellow and start to create a spiral
![grab a yellow]()
![start to spiral]()
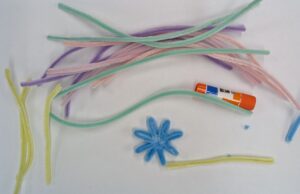
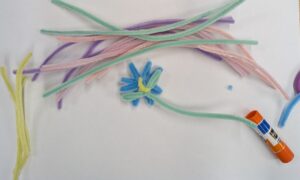
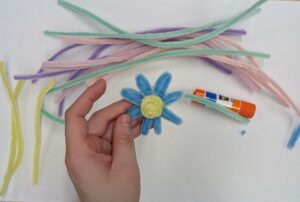
- Spiral until there is about an inch left and place it in the center (if you have hot glue you can cut the excess and glue the center on)
![leave about an inch]()
![place in center 2]()
![place in center]()
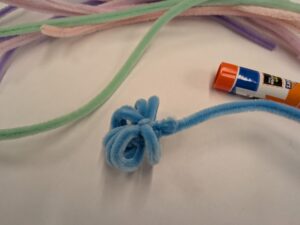
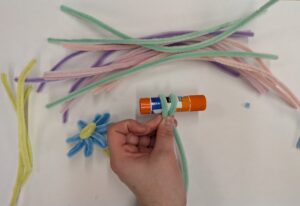
- Grab a green pipe cleaner and loop the end around the glue stick or marker twice, twist to secure.
![grab a green]()
![loop the green]()
![twist green to secure]()
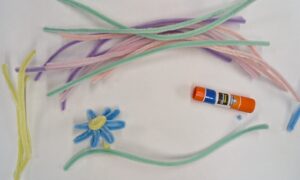
- Slide the green off the glue stick or marker and flatten the loops to create 2 leaves.
![slide off]()
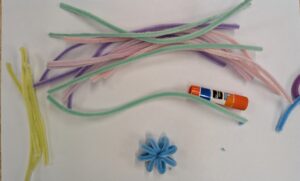
- Attach flower to the stem by wrapping the extra bit of the yellow center (or use hot glue if available)
![attach flower to stem]()
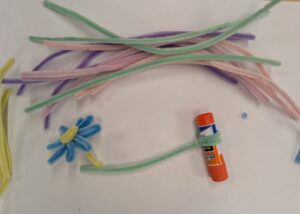
- Repeat steps 2-14 to make 3 more flowers
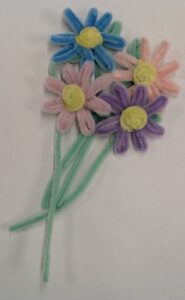
![repeat 3 times]()

Instructions adapted from: