
Below are the instructions for November 2023 Grab & Go kits! Grab one only in the Youth Department at the Library. While supplies last.
PLEASE PAY ATTENTION TO THE GRADE RECOMMENDATIONS!
Instructions for the Pre K and Kindergarten craft can be found inside each kit.
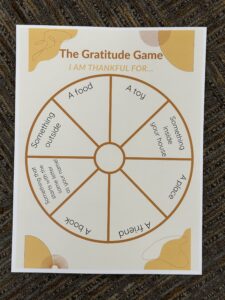
The Gratitude Game
Instructions for making and playing The Gratitude Game:
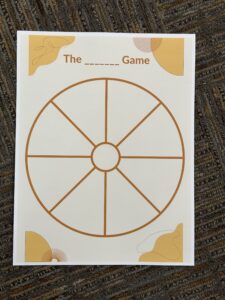
- There are two sides to the game board: one has pre-selected categories, and the other is blank for you to fill out as you choose!
2. You can color the game boards if you like.
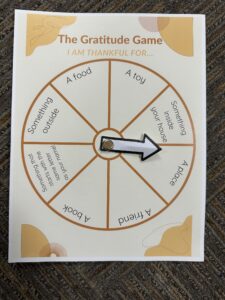
3. Cut out the spinner arrow. Have a grown-up help you attach it to the center of the game board, using the enclosed brad. It helps to poke holes in the game board and in the spinner first and then slide the brad through both holes. If you want to play the other side, simply switch the spinner to that side!
4. Cut out the die. Fold on all of the tabs and dark lines. Assemble it into a cube, using tape to keep it closed. (This step is optional.)
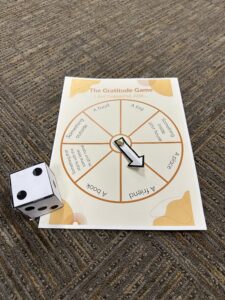
5. Roll the die. This will tell you how many things you have to list.
6. Spin the spinner. This will tell you what category you have to think of what you’re grateful for.
7. On the blank board, brainstorm different categories of things you might feel gratitude for OR you can create an entirely new spinner game!
8. Take turns. Play with your whole family or with your friends!
Example: You roll the die, and you get a 2. Then you spin the spinner, and the spinner lands on “Something outside.” Think of two things that are outside that you’re grateful for. The next player takes a turn, rolls the die, and gets a 3. They spin, and the spinner lands on “A book.” They have to think of 3 books they’re grateful for!
There are no winners in this game….or maybe everybody is a winner, since you all thought of things to be thankful for!
Follow instructions provided with the following changes:
- Carefully wiggle pieces back and forth to get them out without breaking them. Some slight splintering may occur.
- Skip the sandpaper step, kits do not come with sandpaper.
- If you trace the shapes of the pieces onto paper and label the paper like the diagram, you should be able to figure out which piece is which without having to label them.
- Push the pieces together tightly, use a wiggling motion if there is resistance to avoid breaking pieces. Once fully pushed together the pieces should stay without you having to hold them.
Note: If you want to paint yours, I suggest painting the pieces before assembling them, and letting them fully dry. You can also add extra strength to the joinery by adding glue if you need to.