
This month’s Teen Grab & Go is going to teach about all the amazing ways to use Mod Podge (a sealer, glue and finisher all-in-one). The main craft is to make magnets for your locker, but there will be plenty of left overs to decoupage something else (ex. I also decoupaged a wooden coaster)! Decoupage is an artform in which paper cutouts are applied to an object and sealed onto it so it appears to be part of the object. Kits are available (while supplies last) outside in the green creation station and inside the library by the computer in the Teen space.
Each kit includes the following:
- 1 mini glossy Mod Podge
- 1 sponge brush
- 4 pieces of origami paper (2 solid and 2 patterned)
- 4 pieces of tissue paper
- 1 roll of washi tape
- 2 glass cabochons
- 2 self adhesive magnets
Optional additional supplies:
- Other decorations (i.e old magazines, newspapers, old books, old junk mail, pressed and dried flowers, wrapping paper) *Ask permission before tearing up any papers besides those provided in kit*
- Photos printed on regular computer paper (actual photo paper is unlikely to stick well due to thickness and glossiness)
- Hot glue gun (to give the magnets extra hold)
- Scissors (if you want to cut papers instead of just tearing them)
- A wood, cardboard, glass of plastic item to decoupage. (i.e a shoebox, mason jar, plastic pencil case, or wooden box or tray) *Mod Podge is not food safe so do not use on surfaces that will be touching food*
How to Decoupage (general for any other decorating):
- Brush Mod Podge on object you are decorating (acting as glue).
- Place decoration where you want it.
- Brush another layer of Mod Podge over the top.
- Let fully dry and add a final layer to seal it all in.
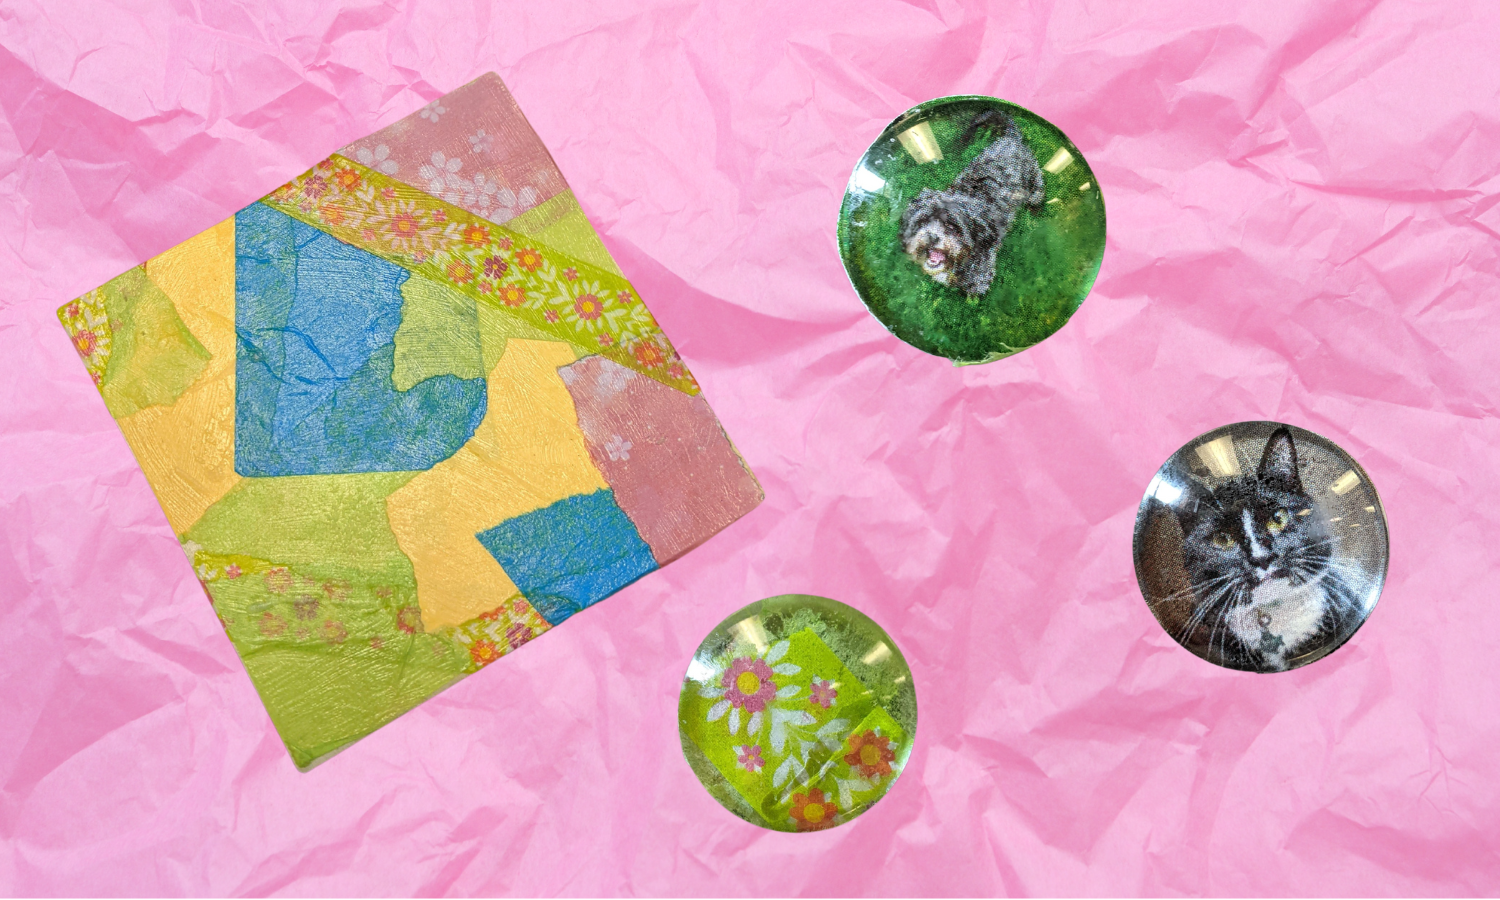
Mod Podge Magnets:
- Place glass cabochon so that the flat side is facing up, apply Mod Podge to this side.
- Place decorations as desired (remember to place the side you want to see down). Do not worry if some hangs off the edges as you can trim it with scissors once everything dries.
- Give the Mod Podge a couple minutes to partially dry and then apply Mod Podge on the back of the decorations to seal it in.
- Let everything fully dry and then place the magnet on the cabochon so that the adhesive side it touching the flat side of the cabochon.
- Trim anything that sticks out.
Tips if you want to print photos:
- Select multiple images to print at once.
- Choose the “contact sheet” option in the print menu
- Cut out using a 1″ hole punch if you have one (or bring your pictures in and ask our Maker Space if you can use their 1″ hole punch)
More decoupage crafts: