
This month, we are introducing new tween Grab & Go kits in addition to youth and teen ones! You can pick up either kit from the Creation Station outside the library or in the Youth Department, while supplies last. Here are the instructions for both the Tween and Youth crafts.
Tween Craft
For our tween craft, you can make a mobile out of air-dry clay and yarn. Air-dry clay is fun to make things with because it isn’t messy and it dries fairly fast.
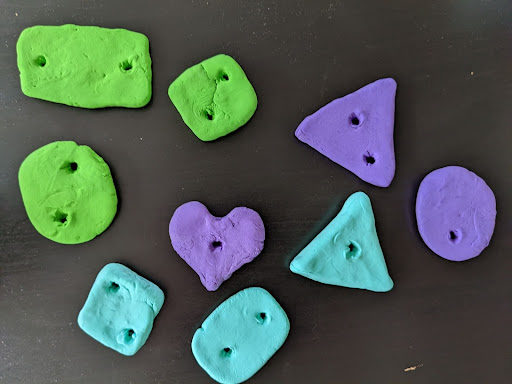
First, you’ll want to take a small amount of clay and roll it into a ball. Then flatten it into whatever shape you’d like.
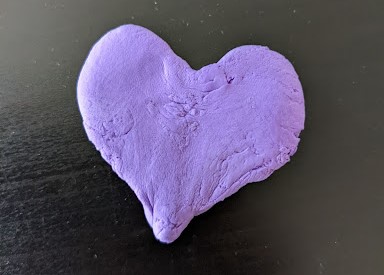
Then, you’ll need to make one hole or two in your shape. For this, using a pencil or a pen works best. You want the hole big enough that you can fit the yarn through it later. You will want two holes for most of your shapes. The shapes with one hole will be the ones at the bottom of each mobile string.
Next, you’ll need to wait for your shapes to dry. Waiting overnight is best.
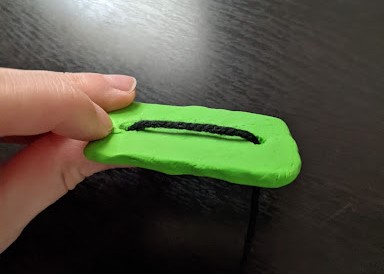
Once your shapes are dry, you can start putting yarn through the holes! Start with a shape with two holes. Weave the yarn in through one hole and then push it back through the other hole.
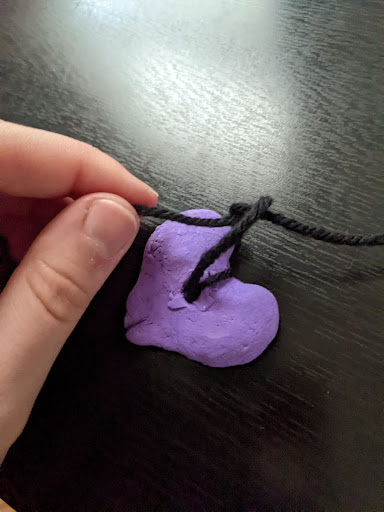
String as many shapes with two holes as you’d like. Then, put a shape with one hole at the bottom. Loop the yarn around the shape and push the yarn in through the hole a second time. Tie the yarn tightly in a knot to secure it.
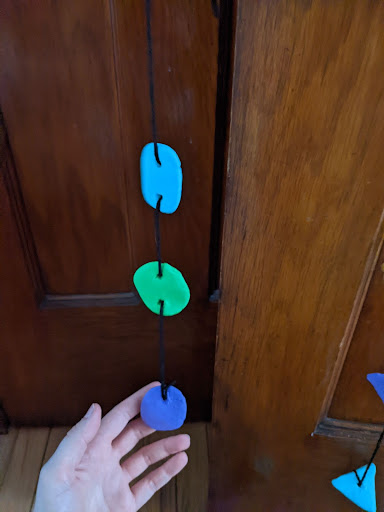
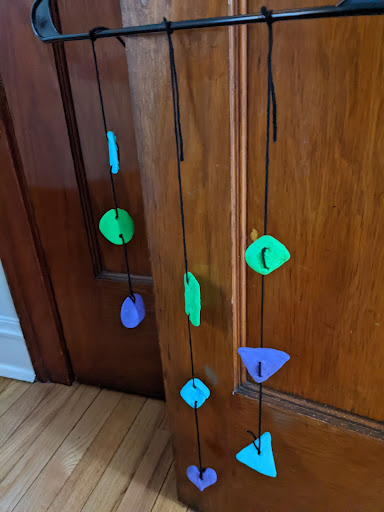
Repeat until all your shapes are on strings. Once you have your strings with shapes on them, you’ll want to hang them! You can hang them anywhere your grownup gives you permission to. I used a hanger to hang all of mine together like this.
Youth Craft
For our Youth grab and go, you can make a butterfly or a bug out of air-dry clay and chenille stems.
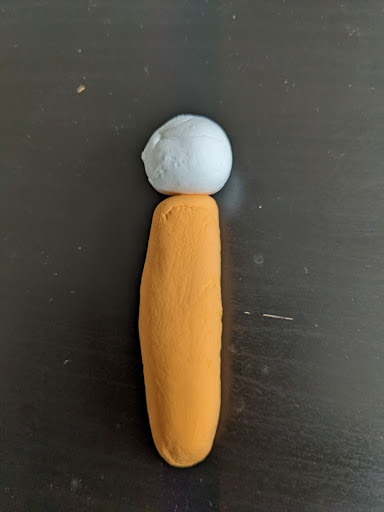
To make a butterfly, first roll a small amount of clay into a sphere to make the head. Then with a bigger chunk of clay, roll a longer piece to create the body.
Next, you’ll use the chenille stems to make the wings. Make sure to do this quickly before the clay dries so your wings will stick to your butterfly. Take one chenille stem and twist it into a triangle shape. After that, push the ends into the upper part of your butterfly’s body. You may need to push hard to make sure it stays in the clay. Do the same thing with another chenille stem on the other side.
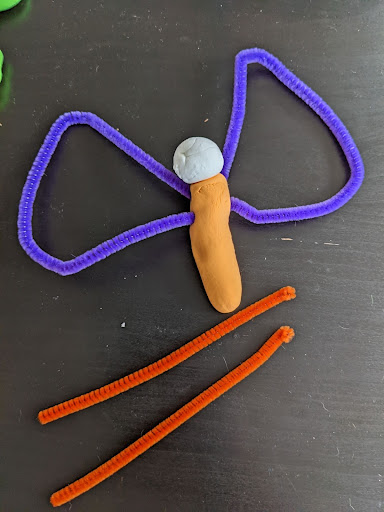
Choose another chenille stem to make the bottom part of the wings. Cut it in half, and then cut two small pieces off of each end to save for the antennas. Make the two longer pieces into half loops and add them to the lower part of your butterfly’s body. Then add the two antenna pieces to your butterfly’s head.
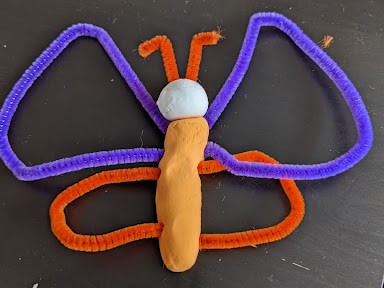
You have your butterfly! Leave it overnight to dry. You can also decorate your butterfly more with markers or paint.
Another option is to make a bug with your air-dry clay and chenille stems.
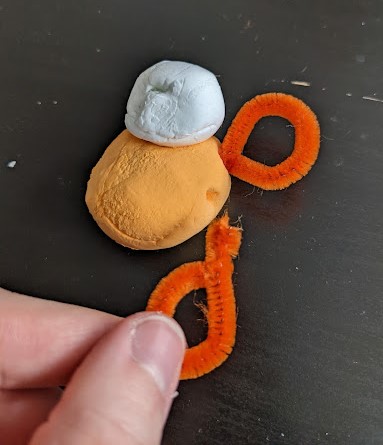
First, roll two small balls of clay to make the body and the head of your bug. Then cut a chenille stem into the length you want for each wing. I made each wing the same size. Also, don’t forget to cut off two small pieces for the antennas.
To make it easier to push your wing into your bug’s body, you can twist the ends together to make a loop and then push the end into the clay.
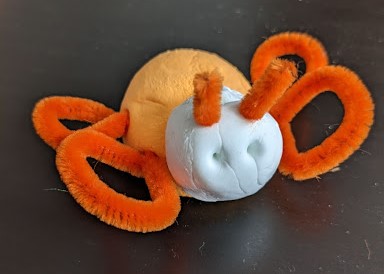
Add two more wings to the other side. And then add the two antennas to the bug’s head. You can also use a pen or pencil to create two eyes! Let your bug dry overnight.
Enjoy creating these colorful clay crafts!